As quick recap Part 1 covered migrating the PSC from Windows Server 2012 R2 to the virtual appliance running 6.5. This post will cover migrating vCenter Server 6.0 from Windows Server to the 6.5 virtual appliance. This process is very similar to migrating the PSC and to start with I have logged on to the DR vCenter server and launched the VMware Migration Assistant found on the vCenter Server Appliance iso image. The wizard will ask for authentication for both the SSO account and the vCenter Service account. Once the prechecks have successfully completed it will detail the migration steps to follow. Leave the process running and switch to a management server to continue the migration.
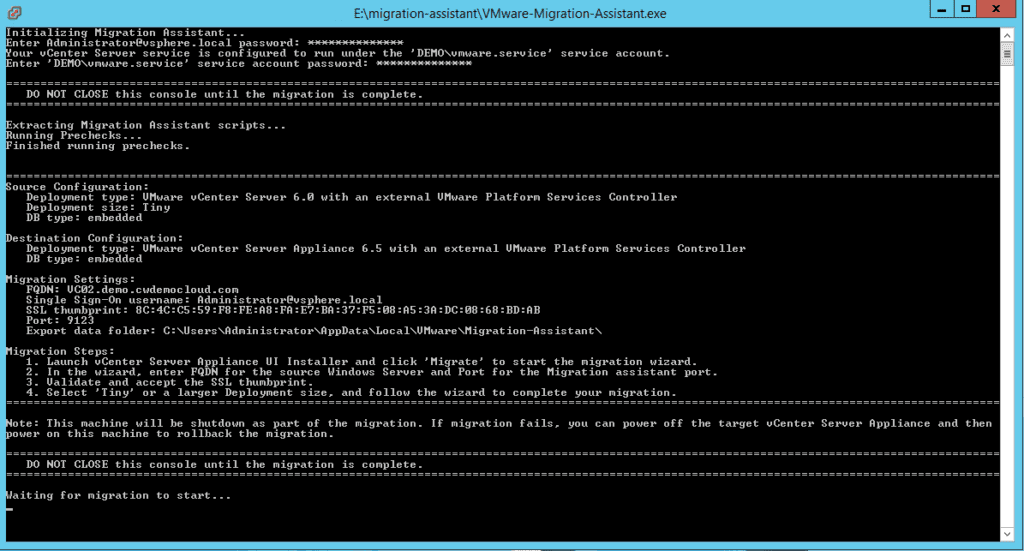
Mount the vCenter ISO and click migrate to begin the process.
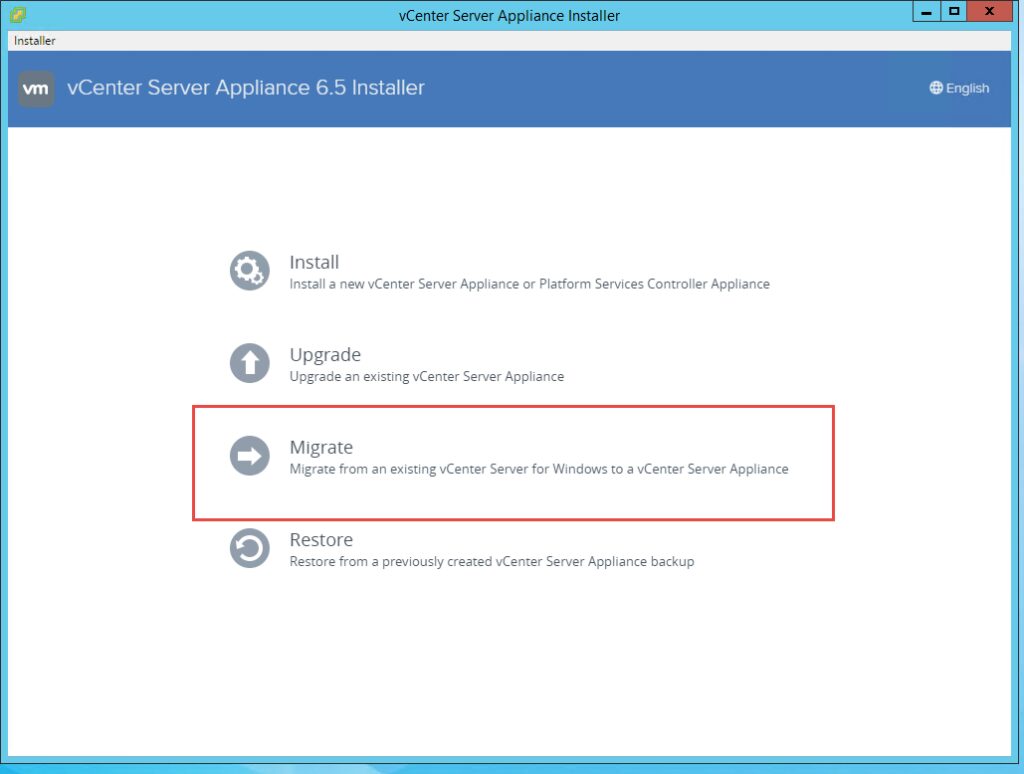
Read the introduction and click next.

Read and accept the EULA and click next.

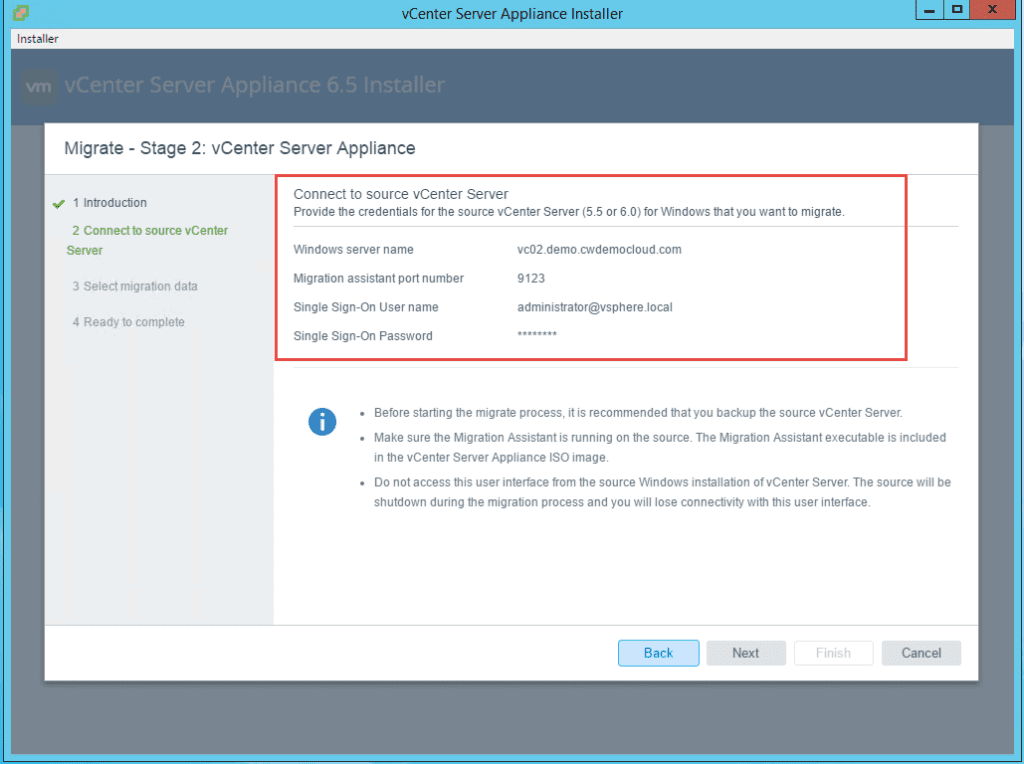
Enter the details for the source system you are migrating from and click next. In this example I am migrating from the DR vCenter Server.

Review and accept the SSL certificate warning.

Choose a host or vCenter Server to use to deploy the vCenter Server Appliance and click next.

Review and accept the certificate warning.

Give the appliance a name and set a root password and click next.

Choose the deployment size of the appliance and click next. The resource requirements are shown in the detail below – I’ve chosen the small deployment size as this is a lab.

Select the datastore to deploy the appliance and click next. I’ve enabled thin provisioning to save space in the lab.

Configure the network settings for the vCenter appliance and click next. This configuration is only temporary and used for the migration process.

Review the configuration and click finish to start the deployment.

A new virtual appliance will be deployed to the environment and configured with settings configured above.

Once the appliance has successfully deployed you can move onto stage 2.

Stage 2 involves migrating data from the original Windows based vCenter to the newly deployed virtual appliance. Review the introduction and click next.

Review the settings of the vCenter Server that was connected earlier in the process. Click next
Enter the credentials to join the appliance to Active Directory and click next.

Choose what data to import to the appliance and click next. The choices are;
- Configuration only
- Configuration, events and tasks
- Configuration, events, tasks and performance metrics

Review the settings and check “I have backed up the source vCenter Server and all the required data from the database” option. Make sure you do have a valid backup before proceeding by clicking finish.

Review and click OK to the shutdown warning.

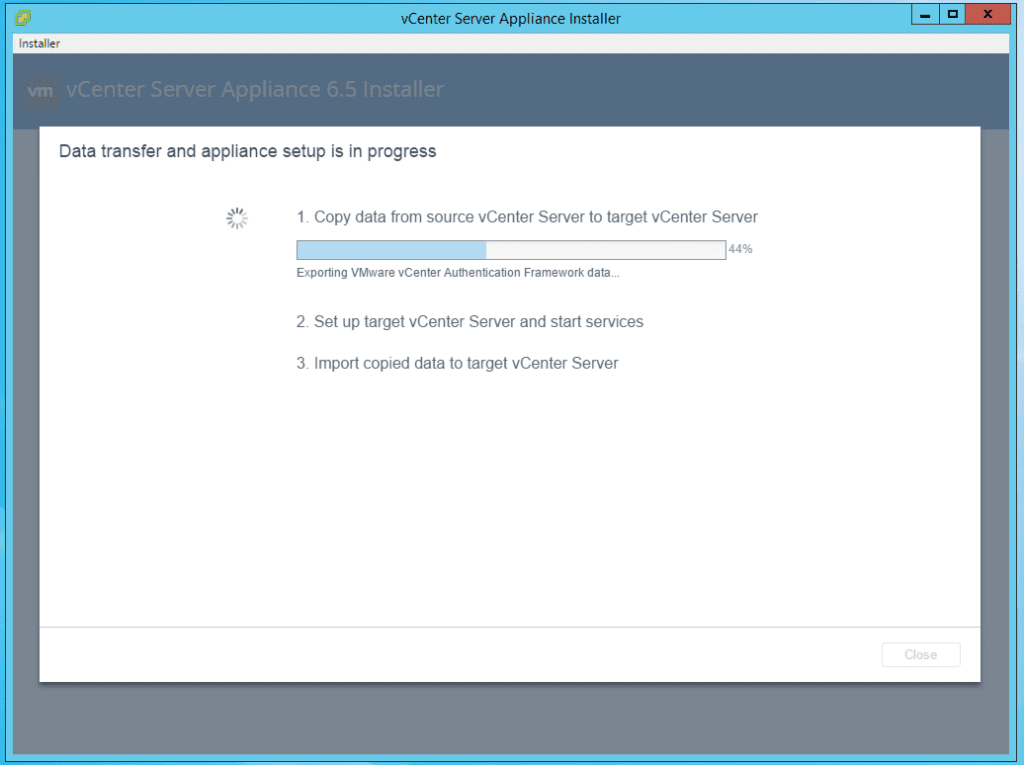
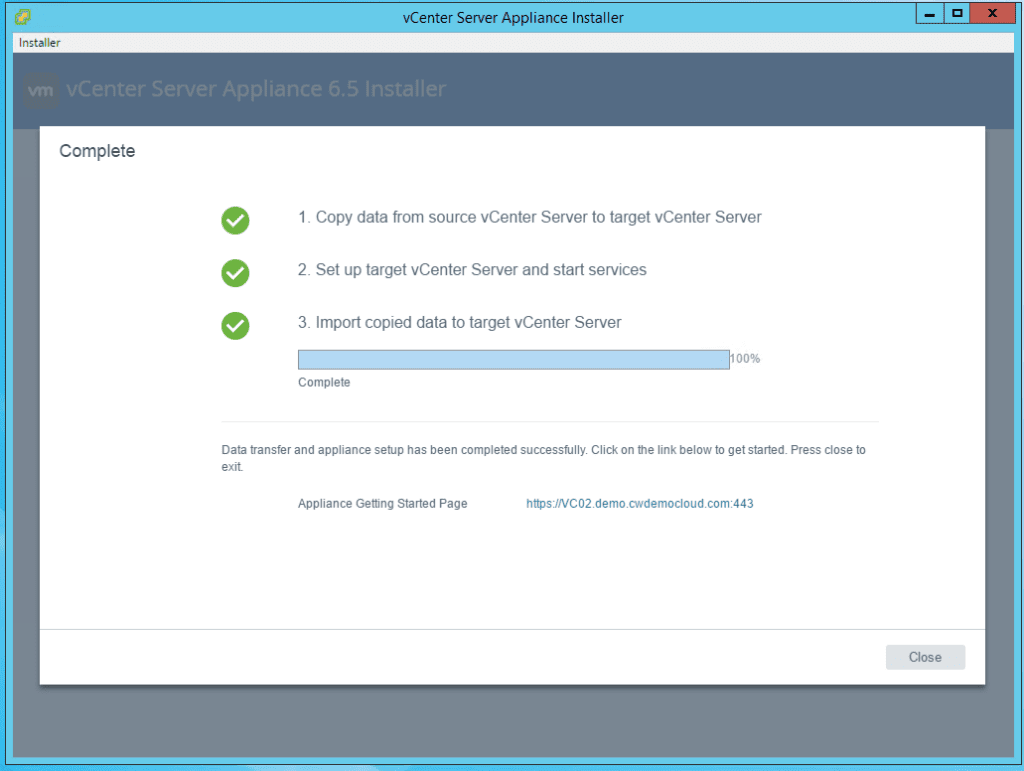
The migration process will begin copying data from the source vCenter servers to the target vCenter server. Once the process had completed the source vCenter server will be shut down.
At the end of the process I had one warning message telling me to update DHCP and TFTP settings for auto deploy. You may see other warning or error messages here if there are any other products that integrate or have a plugin that may need updating.

Once complete you will be able to browse to the original vCenter server address and load the client.
As I quick test I browsed to the original DR vCenter FQDN and launched the new HTML5 client where I can confirm the vCenter build number.

To complete the upgrade process, I repeated the above steps against the production vCenter to bring all components to 6.5 U1. I found the migration process was very straightforward – I didn’t run into any major issues and now have the option to use the HTML5 client which is much more responsive. I’m now in the position to decommission the old windows servers and begin updating hosts to ESXi 6.5. The migration wizard will also support older vSphere 5.5 environments, so for anyone who is still running 5.5 I’d certainly start planning your upgrades sooner

Leave a Reply